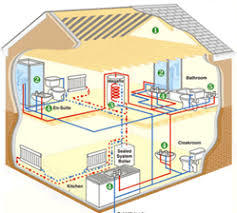
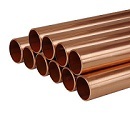
Copper pipe is used for domestic plumbing pipework, normally in 15mm and 22mm diameter sizes which are usually sold in 3m or 6m lengths.
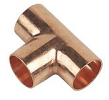
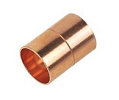
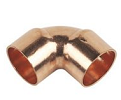
To join copper pipe you can use joins or connections such as those shown below: Tee Coupling Elbow
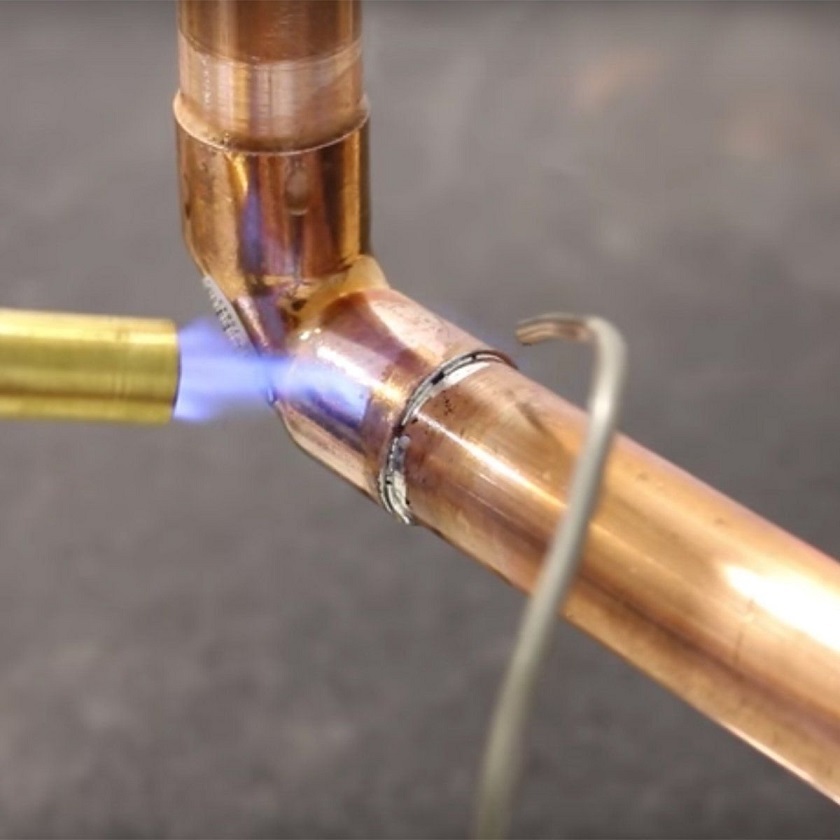
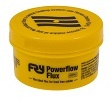
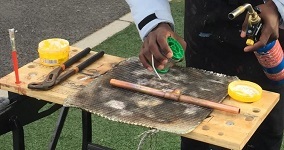
Flux Paste is spread on the area of the pipe to be soldered so that when the solder is melted it attaches more easily to the copper. You will need a brush to apply this as it is an irritant on skin.
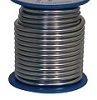
Solder Wire - this is a metal alloy that is melted to form a bond between two copper parts ie. the copper piping and the joint.
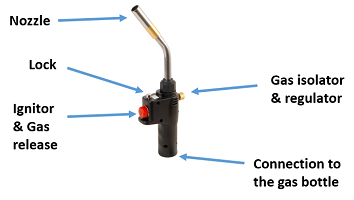
Blow Torch - this is used to produce a flame to heat materials with a controllable flame. They are normally hand held and use a gas bottle for fuel. This means that the blow torch is a 'high risk' tool because it is flammable and the nozzle will remain hot for quite some time after use. You must therefore learn to both use and handle this tool carefully.
Learn about the blowtorch - click here
Pipe Cleaner - to prepare the pipe by cleaning it ready for soldering.
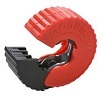
Pipe Cutter - a tool used to cut a length of copper pipe. It has a set of rollers and a cutting disc which will slice through the pipe when turned in the right direction. The tension between the rollers and cutting disc hold it in place. As you rotate the cutter it will start to cut the pipe.
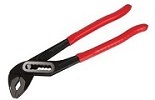
Adjustable Pliers - these are the main tool for holding the pipe whilst it is hot. As they are adjustable so you can use them on different sizes of piping.
Heatproof Mat - to protect surfaces from burn marks from the blow torch.
Remember you will need to think about what PPE you will need for the work you are doing, find out more here
- clean the pipe,
- brush the clean surfaces wtih solder flux,
- fit the pipe and connection together,
- light the blow torch and adjust to get a blue flame,
- hold the solder wire to the joint and apply heat,
- melt the solder evenly round the joint,
- wipe excess solder from the pipe,
- clean the pipe with water and dry,
- flush the pipe to clean it.
Watch this video to learn more about soldering - click here
There are two basic elements of plumbing a sink: installing the taps and connecting the waste pipe. The taps are bought with adjustable fittings and will need to be fitted onto the sink unit before connecting to the water pipes bringing both hot or cold water. Most taps today allow the mixing of the water within the tap, however the basics are the same as installing a separate hot and cold water tap as there will be two attachments for piping.
Fitting a Tap:
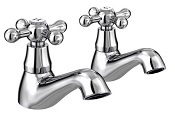
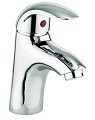
- Tap - the tap will end in a pipe which will connect to the incoming water pipe. There will be a nut which can be unscrewed to allow the tap to be fitted to the basin and then replaced and tightened from below.
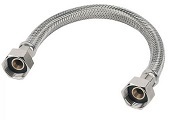
- Tap connector - this will connect the incoming water pipe and the tap together forming a joint with a washer and nut. The piping under a sink is often flexible for easier fitting and allow for adjustments to the position of the taps once the sink is fitted.
- PTFE tape - this tape is used on the join of the tap connector to improve the seal of the joint making it watertight.
- Basin wrench - a basin wrench is used to reach the nuts under the sink to tighten or loosen them during installation.